Why cropping matters
A good image is often ruined by the wrong frame. A product photo may show too much background, a profile picture may cut the face badly, and a social media image may look fine on desktop but awkward on a phone. Cropping is the small edit that decides what the viewer actually sees.
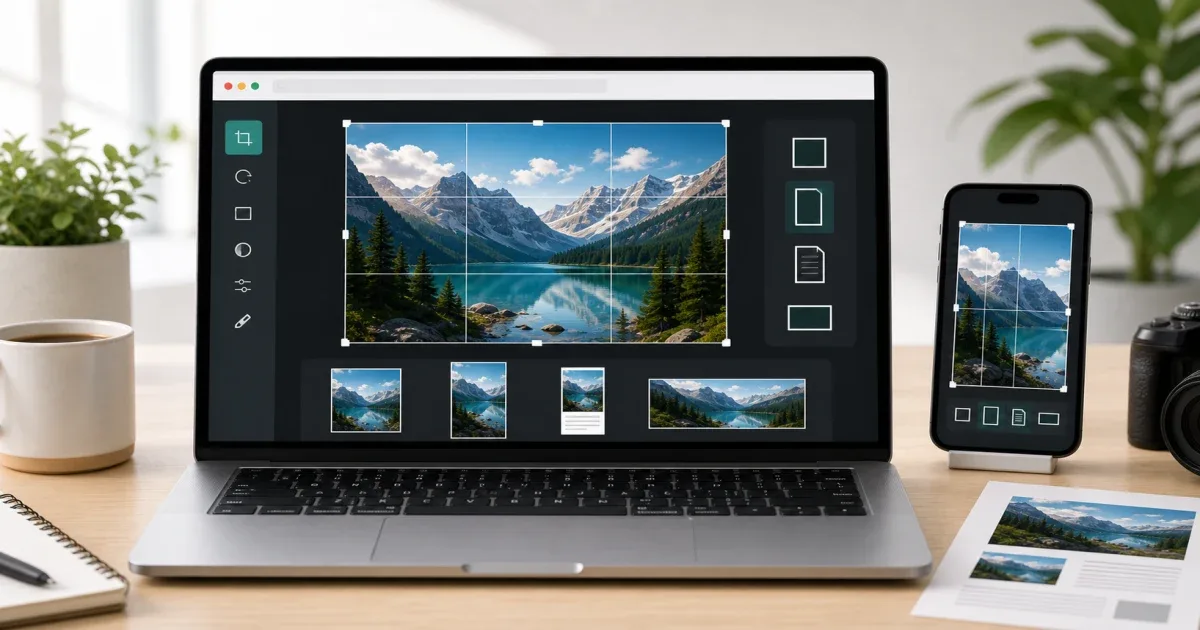
The fastest solution is a focused browser tool. Open Crop Image, choose the area you want to keep, select a ratio if the final platform needs one, then download the result. The edit runs in the browser, so you do not need to install a full design app for one simple task.
When to crop instead of resize
Cropping and resizing solve different problems. Cropping removes parts of the image. Resizing changes the dimensions of the whole image.
Use cropping when the composition is wrong: too much empty space, a subject off-center, a distracting background, or a screenshot that includes private or irrelevant areas.
Use Resize Image when the composition is already right but the file needs different dimensions or a smaller delivery size. Many workflows need both: crop first to choose the frame, then resize if a website or upload form asks for exact dimensions.
Common crop ratios
A square crop is useful for profile photos, icons, thumbnails, and product grids. A wide crop works well for blog covers, banners, and video thumbnails. A vertical crop is better for stories, reels, phone wallpapers, and mobile-first posts.
Documents often need a cleaner rectangular crop. If you scan a paper, receipt, certificate, or handout, crop away the desk and shadows so the page itself becomes the focus.
The Crop Image tool supports preset aspect ratios and free cropping, so you can either follow a platform rule or manually keep the exact area you need.
A practical workflow
Start with the target. Is the image going to Facebook, Instagram, a blog post, a PDF, an email, or a profile page? Do not crop randomly before knowing where the image will appear.
Next, keep the subject inside a safe area. Avoid placing faces, product names, or important text too close to the edge. Some platforms add rounded corners, previews, or overlays that can hide the border.
Then export in the right format. PNG is good for graphics and screenshots. JPEG is practical for regular photos. WebP is useful for modern websites when you want a smaller file.
If the image needs more than cropping, open Image Editor after that. It is better for adding text, shapes, arrows, or other visual notes.
Mistakes to avoid
Do not crop too tightly around faces or products. Leave a little breathing room so the image still works in previews.
Do not use one crop for every platform. A square image may work in a grid but look weak as a banner.
Do not crop after adding text unless you are sure about the final size. Text near the edge can be cut by platform previews.
Do not keep private details inside screenshots. Cropping is a quick way to remove names, emails, account numbers, or unrelated browser tabs before sharing.
Final recommendation
Use Crop Image when the image needs a cleaner frame, better composition, or a platform-specific ratio. Use Resize Image when the frame is already correct but the dimensions need adjustment. Use Image Editor when the job grows into a full visual edit.