Why use an online image editor?
Most image edits do not need a heavy design app. You may need to crop a product photo, add a short label, place a shape, prepare a transparent PNG, resize an image for a website, or export a file in a format that another service accepts.
A free online image editor is useful when the task is visual, quick, and focused. You open the image in the browser, make the change, export the result, and move on. There is no need to install a full desktop editor for a simple crop or text overlay.
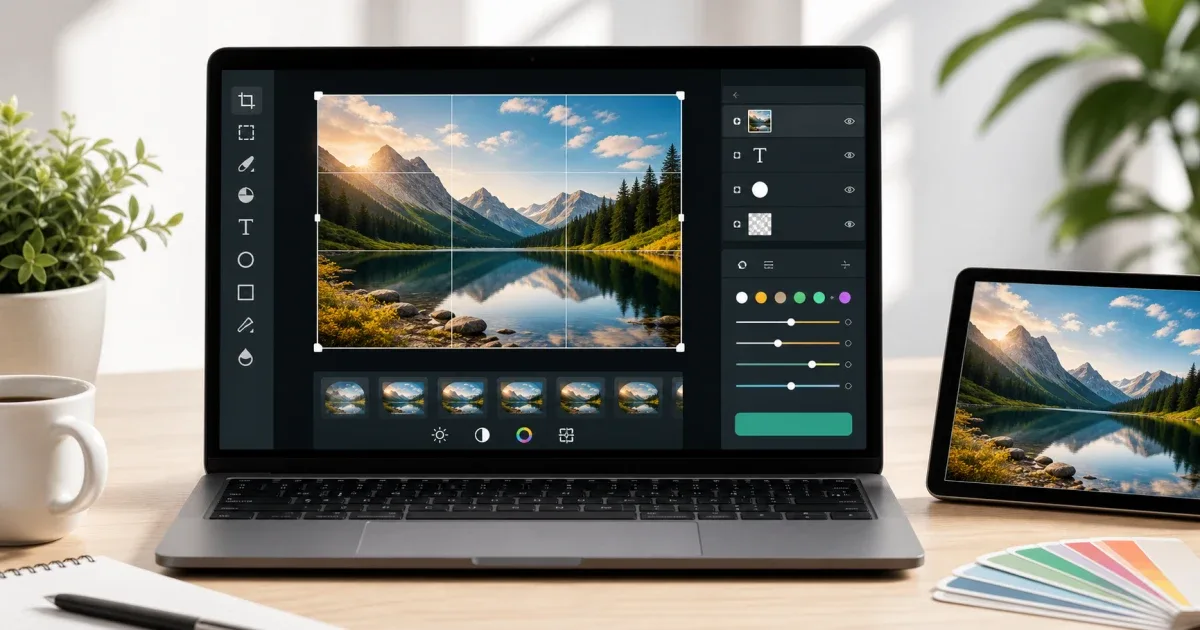
The Image Editor on IGY Apps is built for this kind of work: open JPG, PNG, or WebP, edit on a canvas, add text or shapes, transform the image, and export the final file.
What a good browser image editor should include
A practical editor should cover the edits people actually do every day. Cropping is first, because social platforms, store listings, thumbnails, and documents often need a specific frame. Transform controls also matter: rotate, move, scale, and align the image until it fits.
Text and shapes are useful for quick communication. A short label, arrow, rectangle, or circle can explain a screenshot faster than a paragraph. Export choices are also important. PNG is better for transparency, JPG is usually smaller for photos, and WebP is useful for modern websites.
If the only task is changing dimensions, use Resize Image. If the task is choosing or matching a color, use Color Picker. Use the full editor when you need several visual changes in one session.
A simple editing workflow
Start with the final purpose. Is the image for a blog post, email, social media, product page, or document? The answer decides the size, format, and amount of detail.
Next, open the image and make structural changes first. Crop the image, straighten it if needed, and remove empty edges. After that, add text, shapes, or overlays. Doing layout first prevents you from placing labels in an area that will later be cropped.
Then check contrast and readability. Text on a busy photo can become hard to read. Use a solid shape or a calmer area of the image if the label matters.
Finally, export in the right format and open the downloaded file once. Check that the image is not blurry, the crop is correct, and the file format is what you need.
PNG, JPG, or WebP?
Choose PNG when transparency matters or when the image contains sharp graphics, icons, screenshots, or text. PNG files can be larger, but they preserve clean edges well.
Choose JPG for normal photos when transparency is not needed. It is widely supported and often produces smaller files.
Choose WebP when you are preparing images for a modern website and want a good balance between quality and file size. WebP is useful for blog covers, product images, and web pages.
If you are unsure, export a test copy and compare. The best format depends on the content of the image, not only the tool.
Common mistakes to avoid
Do not start by adding text before deciding the crop. You may lose the label when you resize or reframe the image.
Do not use tiny text on social media images. Many people will see the image on a phone, so labels should be simple and large enough.
Do not export every image as PNG by habit. A large photo in PNG can become unnecessarily heavy. JPG or WebP may be better.
Do not over-edit. If the image only needs a crop and a small brightness fix, keep it simple. Clear images usually perform better than crowded designs.
Final recommendation
Use Image Editor when you need a free online image editor for crop, text, shapes, transformations, and export. Use Resize Image for pure resizing, and Color Picker when the job is mainly about color.
For heavier mobile workflows, repeated layered edits, offline work, or advanced photo projects, a dedicated app such as Glazr Photo may be the better fit.