Why HEIC photos cause trouble on Windows
If you take photos on an iPhone or iPad, you may end up with files that use the HEIC or HEIF format. This format is efficient and keeps good image quality, but it can still be awkward when you move the photos to a Windows computer.
Some Windows apps open HEIC files without any extra work. Others show a blank preview, ask for extra codec support, or reject the file during upload. The problem usually appears when you need to send a photo to a form, attach it to a document, upload it to a website, or share it with someone who expects a normal JPG.
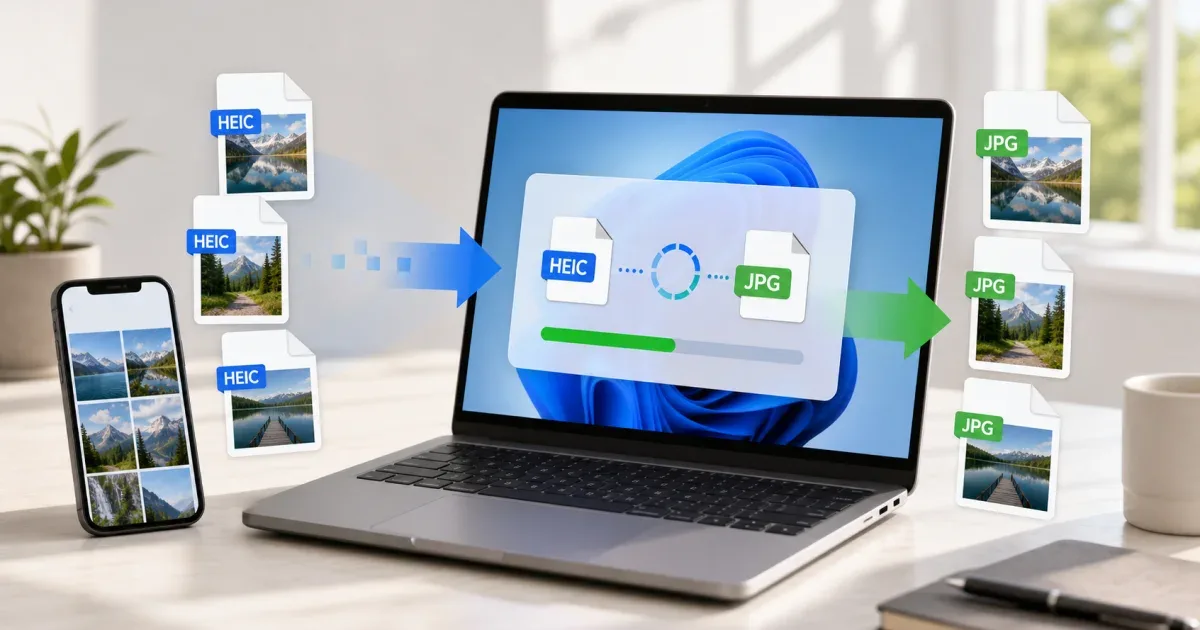
The practical fix is simple: keep the original HEIC file, then create a JPG copy for compatibility. You can do that with the HEIC to JPG Converter in your browser.
HEIC, JPG, and PNG: which output should you choose?
Use JPG for most iPhone photos. JPG is widely accepted by websites, email apps, office documents, school portals, job forms, and older software. It is usually the safest format when you need to share a normal photo.
Use PNG when the image is not really a photo, or when you want a cleaner result for screenshots, graphics, interface captures, text-heavy images, or images that should avoid extra compression artifacts. PNG files can be larger, but they are often better for sharp edges and screen captures.
Keep HEIC as your original archive when possible. It may be smaller than a matching JPG while preserving quality. Conversion should create a copy, not replace the source file.
For a Windows workflow, the rule is:
- JPG for everyday sharing and uploads.
- PNG for screenshots or graphics.
- HEIC as the original source file.
Convert HEIC to JPG on Windows in the browser
The HEIC Converter on IGY Apps is designed for this exact task. It accepts HEIC and HEIF files, converts them to JPG or PNG, and lets you download the result without installing desktop software.
- Open the HEIC to JPG Converter.
- Drop your HEIC photos into the page, or click to select them from your Windows computer.
- Choose JPG as the output format.
- Adjust the quality setting if you need a smaller file.
- Click convert and wait for the previews.
- Download each image, or download all converted files as a ZIP archive.
The tool supports batch conversion, so you can convert several iPhone photos at once instead of repeating the same steps one file at a time.
Privacy and file handling
The important privacy detail is that the conversion happens in your browser. The tool uses browser-side processing for HEIC decoding, so your photos do not need to be uploaded to a remote server for the conversion step.
That is useful when you are working with private photos, IDs, receipts, school files, client images, or anything you do not want to send through a third-party upload flow just to change format.
Still, use normal file safety habits. Download the converted JPG copies, open a few results to confirm they look correct, and keep the original HEIC files until you are sure the copies work for your purpose.
Quality settings: avoid files that are too large or too soft
When converting to JPG, quality affects both file size and visual detail. A very high setting keeps more detail but can create a larger file. A lower setting reduces size, but it may add visible artifacts in skies, faces, gradients, or fine texture.
For normal photos, start around the default quality setting. If the image is for email, a support ticket, or a form with a size limit, lower the quality slightly and check the result. If the image is important for printing, documentation, or product detail, keep quality higher.
If the converted JPG is still too large, the problem may be dimensions, not only compression. A phone photo can be much wider and taller than a website or form needs. In that case, use Resize Image after conversion to create a smaller copy with the right dimensions.
If the dimensions are fine but the file still feels heavy, use Image Compressor to reduce the final JPG, PNG, or WebP file size.
Common Windows situations
Use JPG when a website says it accepts only JPG, JPEG, or PNG. Many upload forms are strict even if Windows can preview the original HEIC file.
Use JPG when adding iPhone photos to Word, PowerPoint, spreadsheets, invoices, online profiles, resumes, product listings, or classroom documents. Compatibility matters more than keeping the newest format.
Use PNG when the source is a screenshot from an iPhone rather than a camera photo. Small text, app screens, and UI details usually survive better in PNG.
If you are preparing images for a modern website, you may convert HEIC to JPG first for compatibility, then use WebP Converter to prepare a web-friendly WebP version.
Mistakes to avoid
Do not delete the original HEIC files immediately. Keep them until the JPG or PNG copies have been checked.
Do not convert every file to PNG just because PNG sounds higher quality. For camera photos, PNG can become unnecessarily large.
Do not send the first converted file without opening it. Check orientation, color, faces, text, and important details.
Do not resize before you know the final use. A small image can look poor if you later need it for print or a large banner.
Final recommendation
For most Windows users, the easiest workflow is to open the HEIC to JPG Converter, convert iPhone HEIC photos to JPG, download the copies, and keep the originals.
After conversion, use Resize Image if the photo dimensions are too large, Image Compressor if the file size is still too high, and WebP Converter if the final image is going onto a modern website.