Why WebP conversion matters
WebP is a modern image format made for the web. It can keep images visually clean while often producing smaller files than older formats. That makes it useful for blog covers, product images, portfolio pages, thumbnails, landing pages, and any workflow where page speed matters.
But image format is not just about file size. Sometimes you need to convert JPG or PNG to WebP for a website. Other times you need to convert WebP back to PNG or JPEG because another app, old CMS, print workflow, or upload form does not accept WebP.
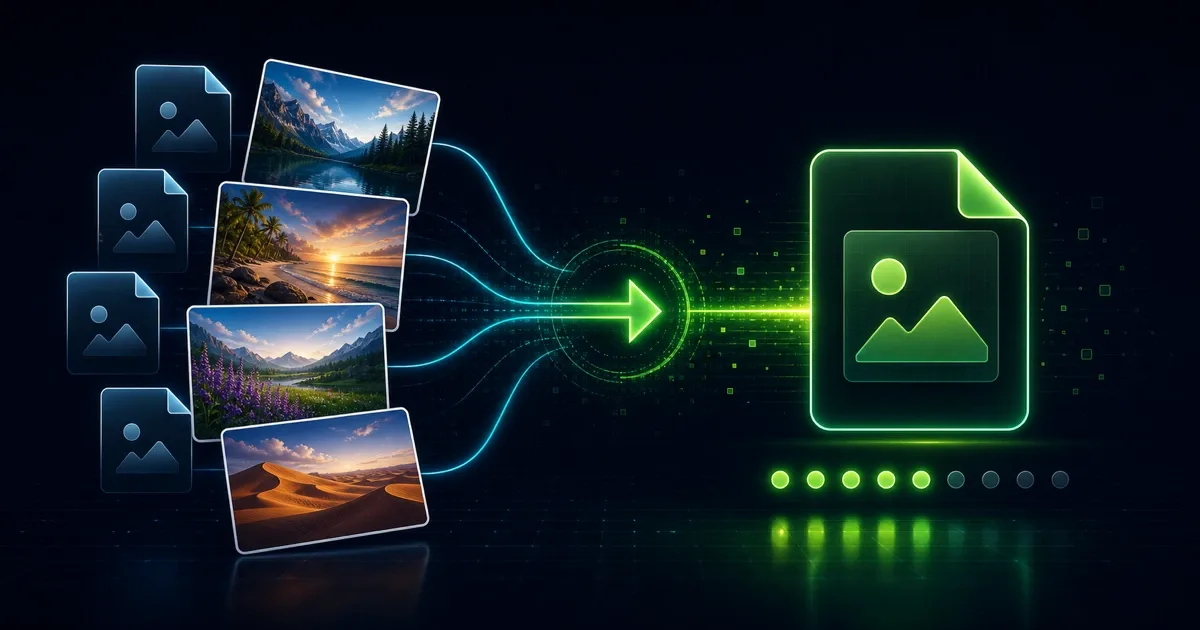
The WebP Converter on IGY Apps handles both directions. You can convert JPEG/PNG images to WebP, or convert WebP images back to PNG or JPEG. It supports batch conversion, includes a quality slider, and runs in your browser.
What the WebP Converter does
The tool has two modes. Use To WebP when you have JPEG or PNG images and want modern web-ready files. Use From WebP when you have WebP images and need PNG or JPEG output.
In the To WebP mode, drop or select JPEG and PNG images, adjust the quality slider if needed, then download the converted WebP files. In the From WebP mode, drop or select WebP images, choose PNG or JPEG as the output format, then download the results.
The tool accepts multiple files, so you can convert a small batch instead of repeating the same action image by image. That is useful when preparing a set of blog images, product thumbnails, app screenshots, or social media graphics.
The privacy detail is important: conversion happens locally in the browser using the Canvas API. Your images do not need to be uploaded to a remote server for this workflow.
When to convert JPG or PNG to WebP
Convert to WebP when the final image is meant for a modern website. WebP can be a good fit for blog covers, gallery images, product photos, landing page visuals, and documentation screenshots.
If a JPG photo is already the right size but still heavy, converting to WebP may reduce weight while keeping the image useful. If a PNG screenshot is large, WebP may also help, but check the result carefully when the image contains small text, thin lines, or transparency.
If the image dimensions are much larger than needed, convert later. First use Resize Image to set the real display size, then use WebP conversion or Image Compressor to reduce the final file size.
When to convert WebP back to PNG or JPEG
Convert from WebP when another system does not accept WebP. Some older upload forms, document tools, printing workflows, email clients, and design apps may still prefer PNG or JPEG.
Choose PNG when the image needs transparency, sharp edges, screenshots, icons, diagrams, or text-heavy graphics. PNG can be larger, but it keeps clean edges well.
Choose JPEG when the image is a normal photo and transparency is not needed. JPEG is widely accepted and remains useful for sharing, printing, and older platforms.
The safest rule is simple: use WebP for modern web publishing, PNG for transparency and sharp graphics, and JPEG for broad compatibility with photos.
Quality settings and file size
The default quality setting is 80%, which is a good first test for many web images. Higher quality keeps more detail but makes files larger. Lower quality can shrink files more, but it may introduce compression artifacts.
For photos, try a range around 75-85% and compare the result. For screenshots, UI images, or graphics with text, stay closer to the higher end and check readability after downloading.
If your main goal is reducing file size without changing format, use Image Compressor. If your main goal is changing format, use WebP Converter first, then compress only if the output is still too large.
A clean web image workflow
For website images, the best result usually comes from a sequence rather than one action.
- Crop the image if the frame includes extra space.
- Resize it to the real display dimensions.
- Convert JPG or PNG to WebP for modern web use.
- Compress the final image if the file is still larger than needed.
- Open the downloaded file once and check quality, text, and transparency.
If the image needs text, shapes, annotations, or a visual change before conversion, use Image Editor first. Export the edited image, then convert or compress the final file.
This workflow prevents a common mistake: converting a huge original image and then resizing it later. It is usually better to prepare the image first, then export the final format.
Common mistakes to avoid
Do not convert every image to WebP automatically. If the file must be opened in older software, submitted to a strict form, or printed through a system that expects JPG or PNG, compatibility matters.
Do not ignore transparency. If a transparent PNG is converted and the result will be used on different backgrounds, open the downloaded file and verify that it still behaves as expected.
Do not judge quality only from the file size. A smaller file is useful only if the image still looks clean enough for its purpose.
Do not overwrite your originals. Keep the source files and work with converted copies, especially when preparing a full batch.
Final recommendation
Use WebP Converter when you need to convert images to WebP for faster web pages, or when you need to convert WebP back to PNG or JPEG for compatibility.
Use Resize Image when dimensions are the problem, Image Compressor when file size is the problem, and Image Editor when the image needs visual edits before export.